After being inspired by the other thread on installing Ti fog lamp bezels, I decided I saw no reason I couldn't just paint my chrome ones like that.
I used both access methods to get the fog lamps.... removed the headlamps (takes 15 seconds per lamp) and removed the splash shield underneath. You'll need torx bits for all the bolts.
The fog lamps themselves have 4 bolt holes, but are attached with 2 per lamp, diagonally across from each other. I removed the harness from each lamp, then the 2 screws per lamp. The one on the pass side has the washer tank near it, you just need to slightly pull forward on the bumper to give you a little more access to that screw.
Once out, you can see how the bezels attach. There are 4 "U" parts that snap over tangs on the bumper. Whomever said they removed these bezels from the front with a credit card either got damn lucky, or their bezels weren't snapped in all the way. No way a credit card could even fit in the space on my car.
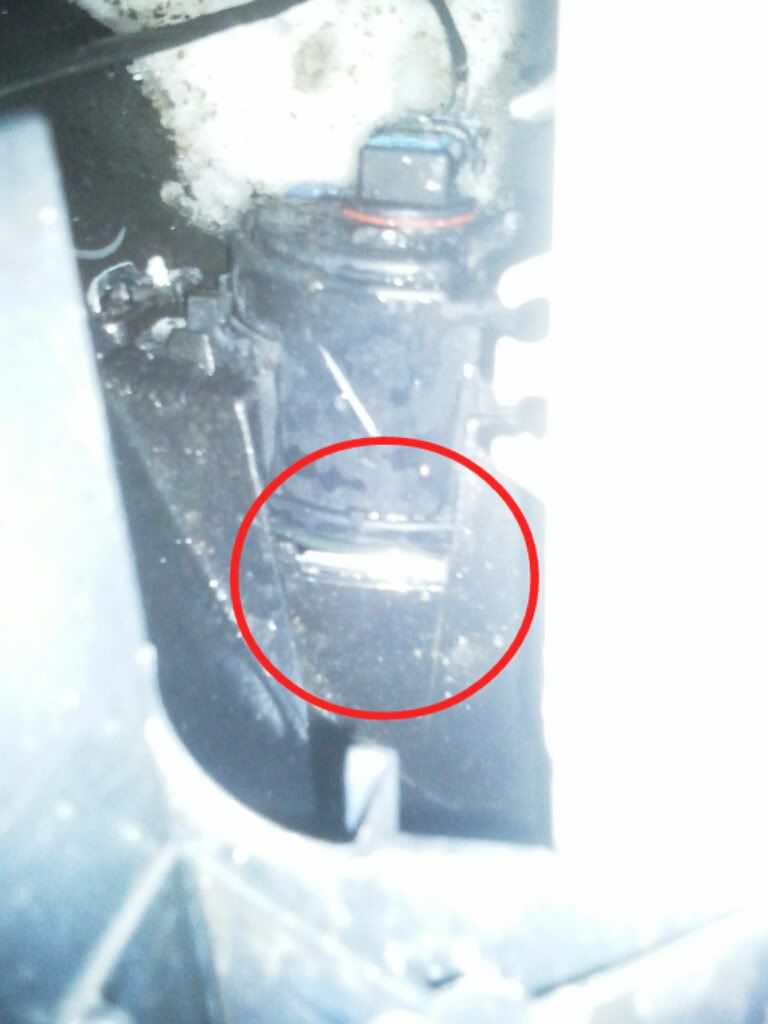
This is what the bezel looks like from behind, note the attachment tangs...
![Image]()
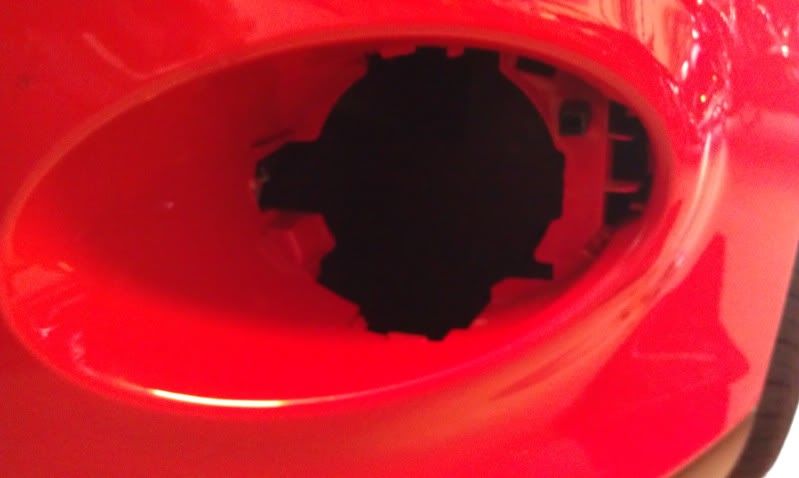
This is what the remaining bumper looks like with the bezel removed...
![Image]()
To paint, I simply masked off the bezel leaving about a half inch of chrome to show after painting. I sanded the remaining chrome with some 1000 grit just to scuff the surface a bit. I then painted with some Krylon Fusion gloss black, and let sit for 24 hrs.
Here is the painted bezel before install...
![Image]()
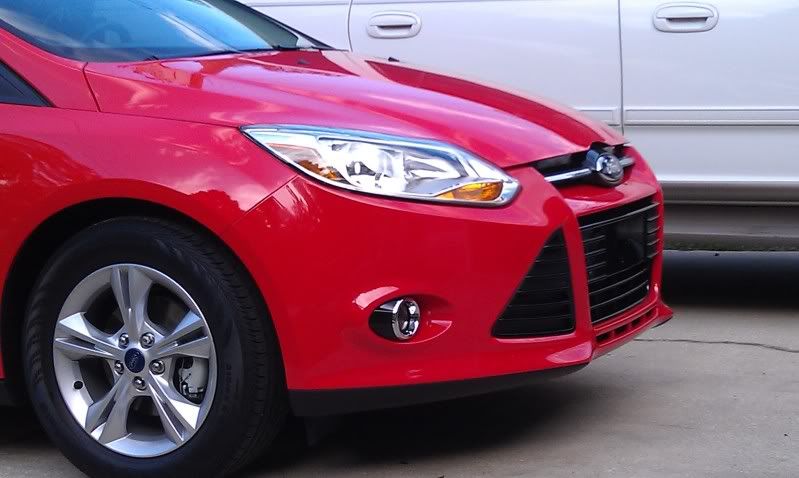
And here is the end result after install!!
![Image]()
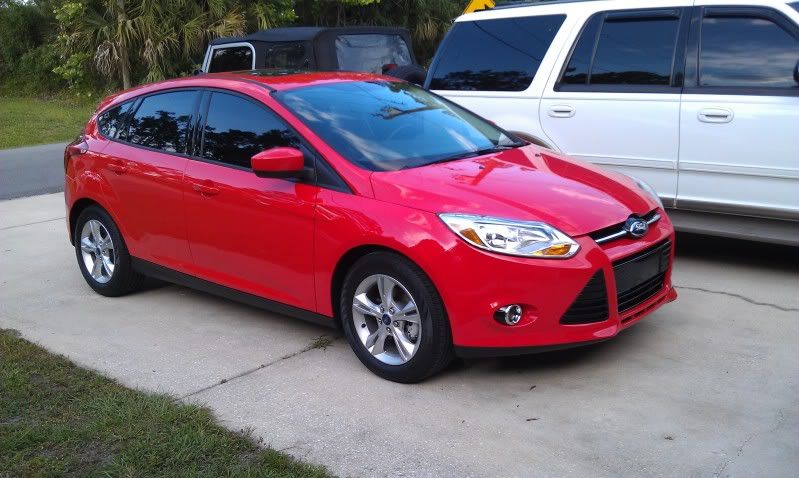
And a full body shot...
![Image]()
For comparison, here is the car before painted bezels...
![Image]()
I love the way it looks, and the next step will be Ti-style headlights!
I used both access methods to get the fog lamps.... removed the headlamps (takes 15 seconds per lamp) and removed the splash shield underneath. You'll need torx bits for all the bolts.
The fog lamps themselves have 4 bolt holes, but are attached with 2 per lamp, diagonally across from each other. I removed the harness from each lamp, then the 2 screws per lamp. The one on the pass side has the washer tank near it, you just need to slightly pull forward on the bumper to give you a little more access to that screw.
Once out, you can see how the bezels attach. There are 4 "U" parts that snap over tangs on the bumper. Whomever said they removed these bezels from the front with a credit card either got damn lucky, or their bezels weren't snapped in all the way. No way a credit card could even fit in the space on my car.
This is what the bezel looks like from behind, note the attachment tangs...

This is what the remaining bumper looks like with the bezel removed...
To paint, I simply masked off the bezel leaving about a half inch of chrome to show after painting. I sanded the remaining chrome with some 1000 grit just to scuff the surface a bit. I then painted with some Krylon Fusion gloss black, and let sit for 24 hrs.
Here is the painted bezel before install...

And here is the end result after install!!
And a full body shot...
For comparison, here is the car before painted bezels...

I love the way it looks, and the next step will be Ti-style headlights!