Painting your side view mirror caps
Preparation time needed: 30 minutes.
Working time needed: 2 hours.
Overall drying time needed: 24 hours.
Materials needed:
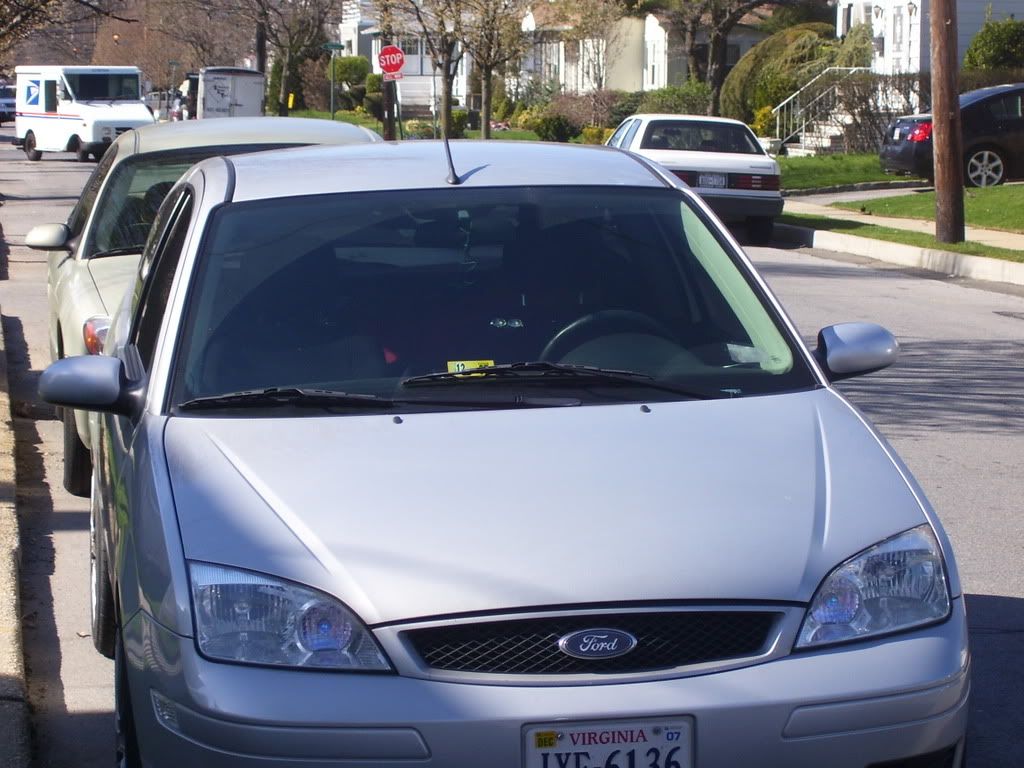
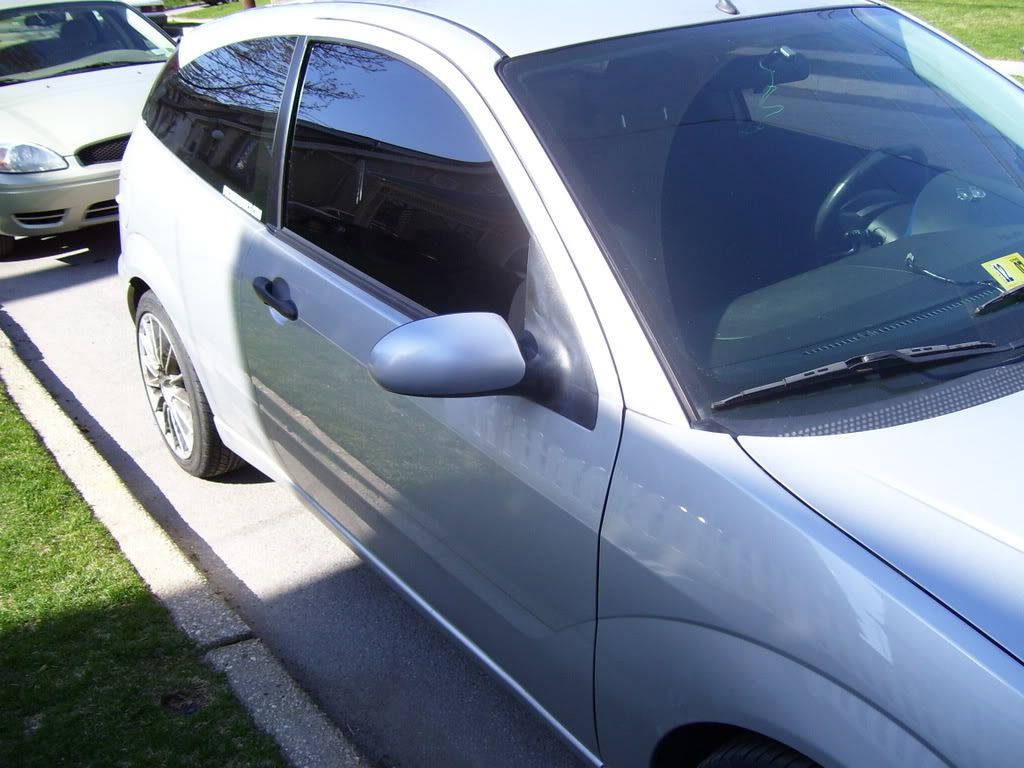
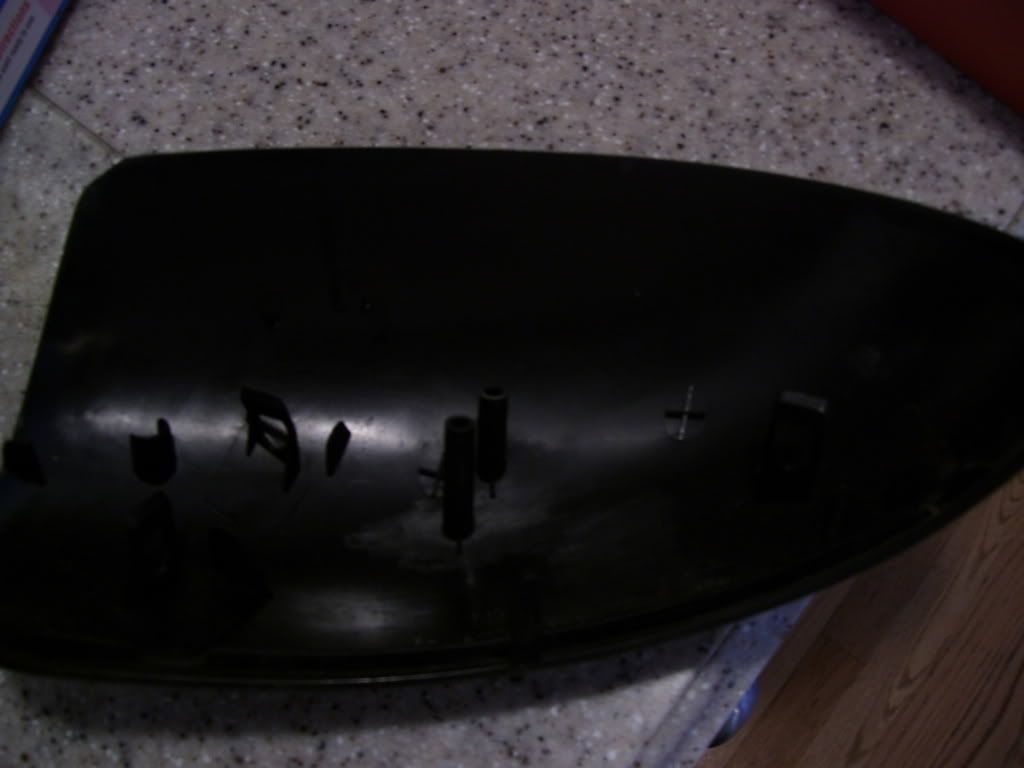
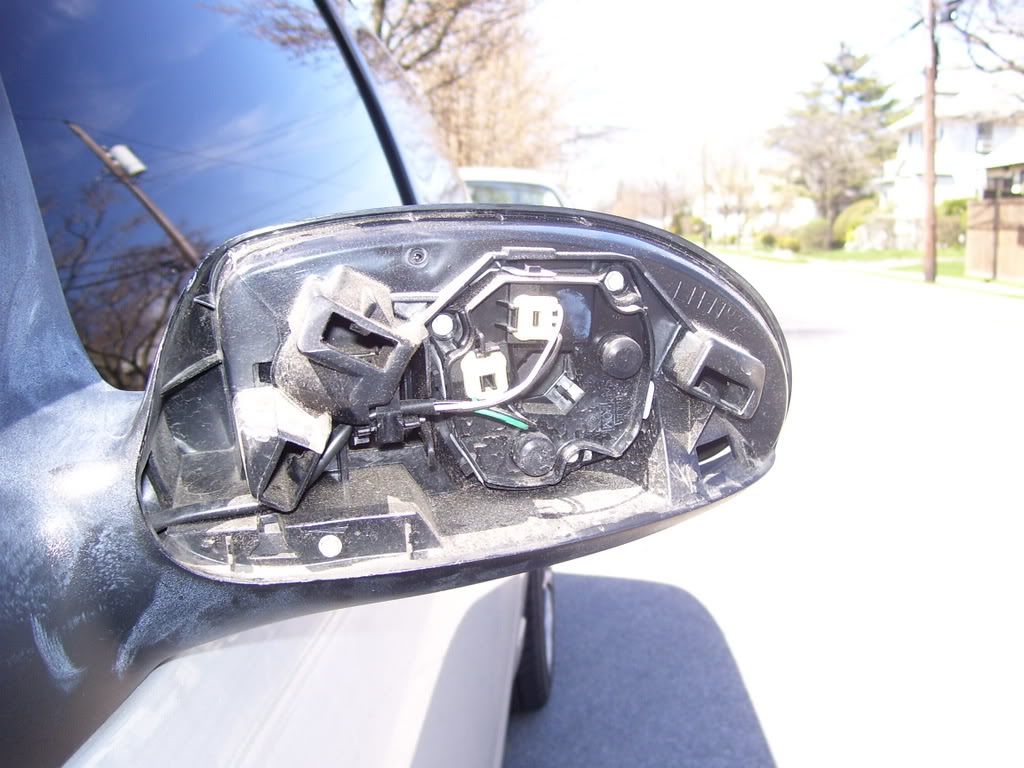
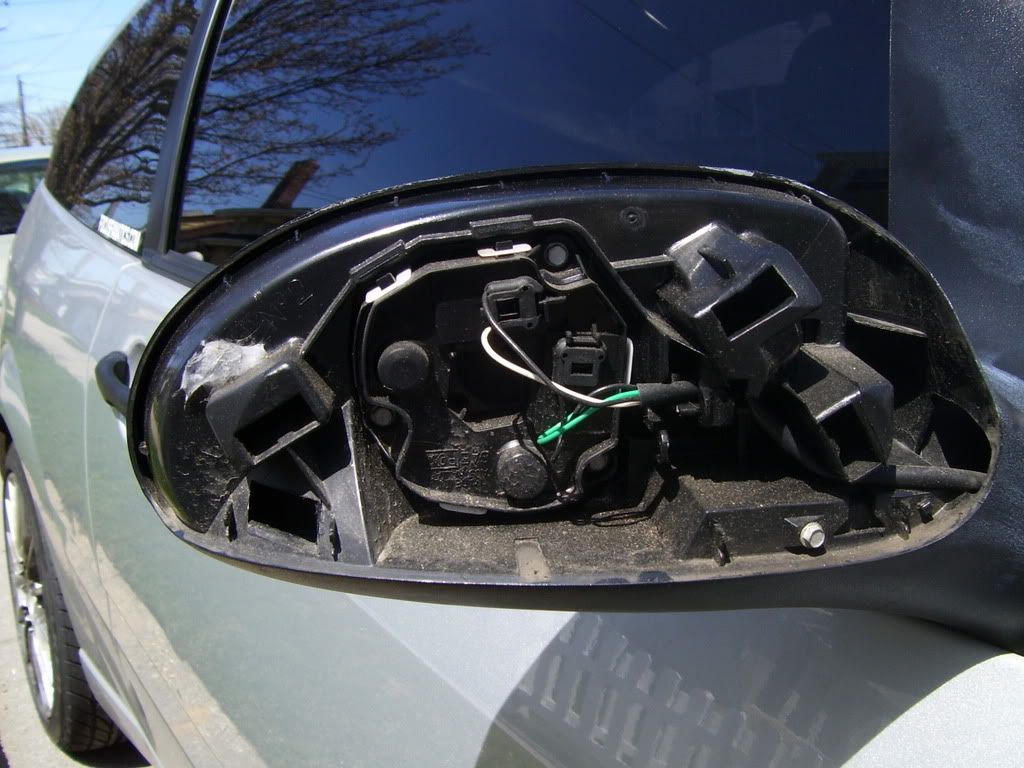
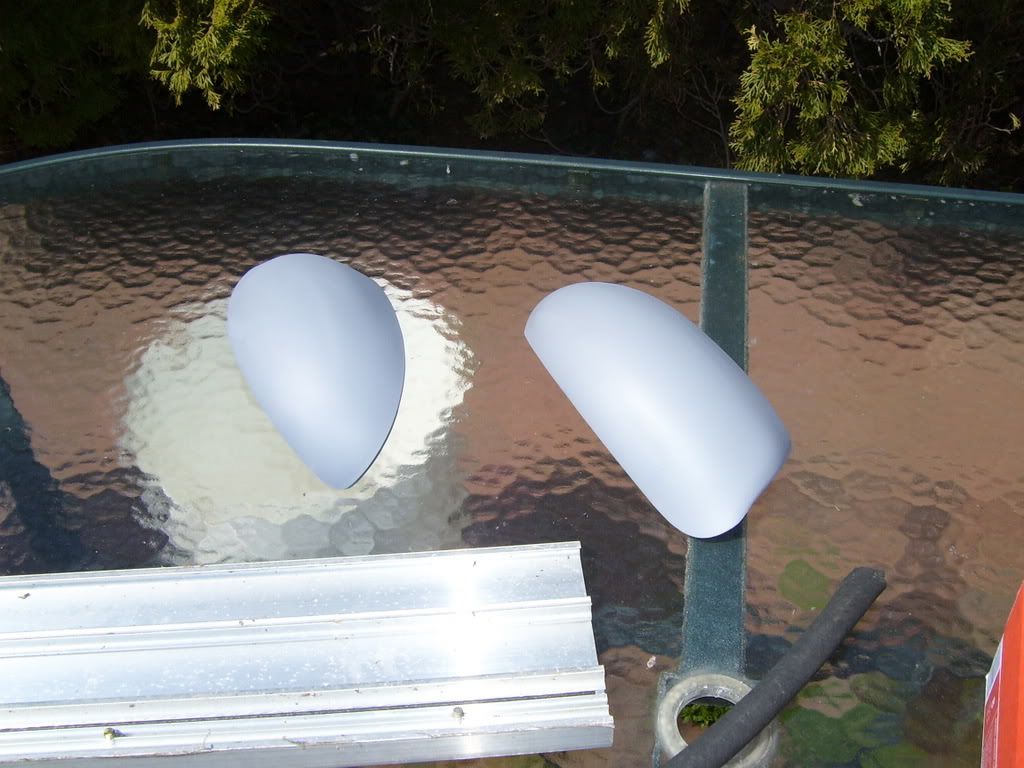
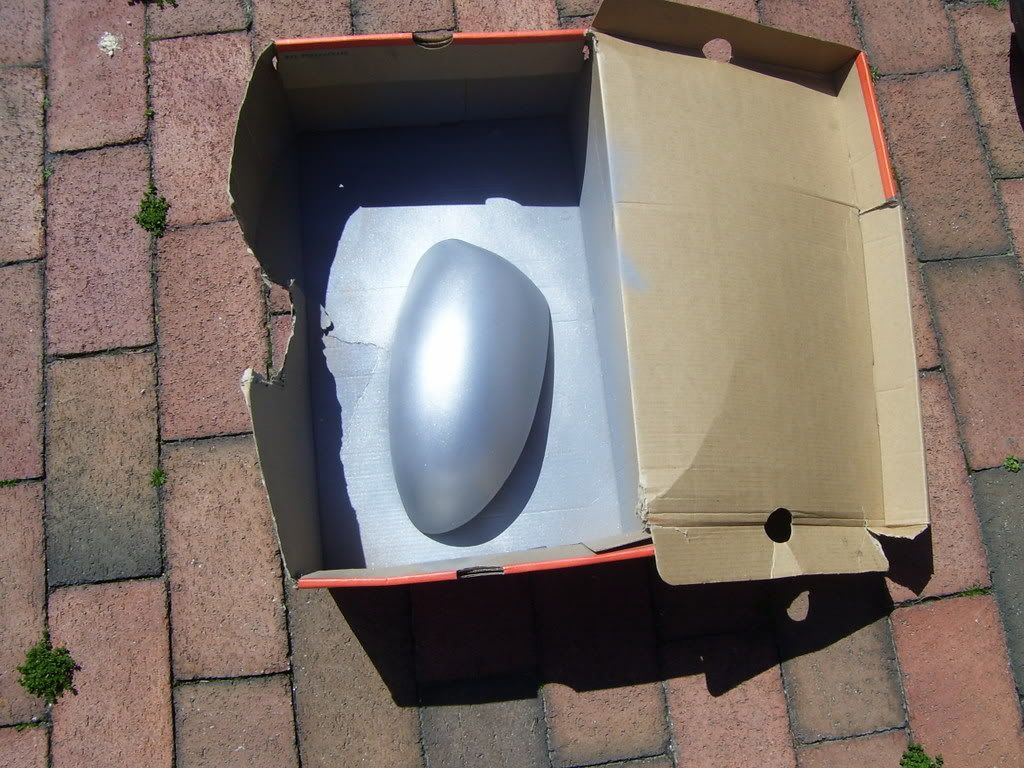
Begin by removing the mirror caps gently. This process takes the longest time as you are working behind the mirror glass. Refer to the pictures to see where the tabs are.
![Image]()
![Image]()
![Image]()
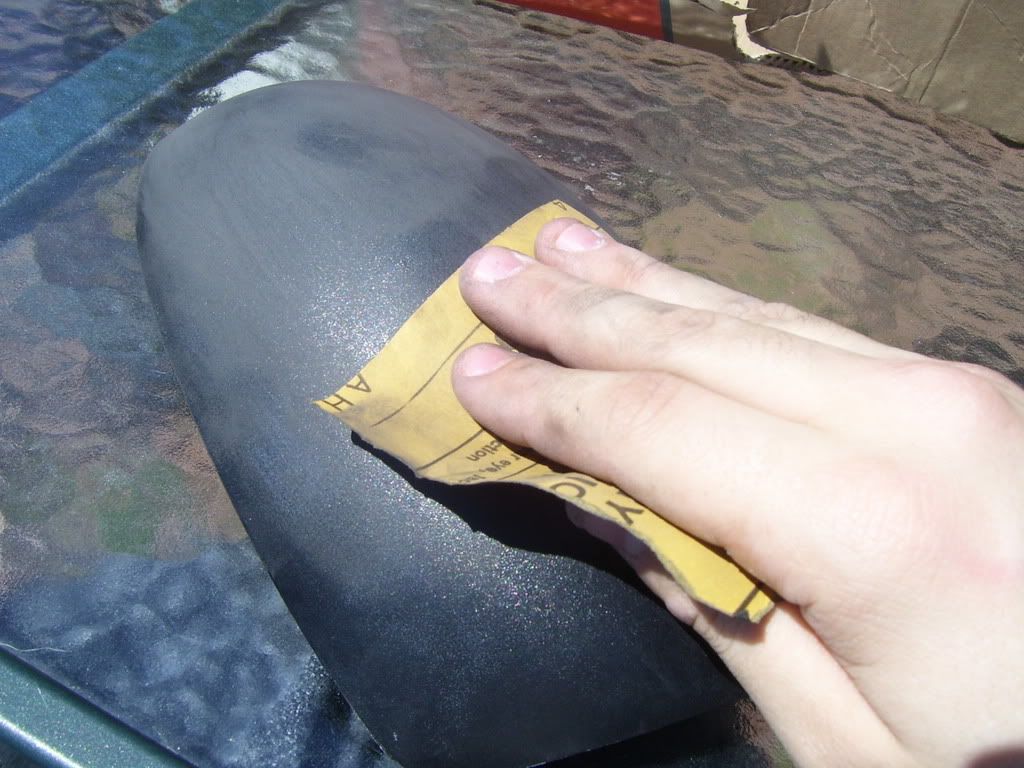
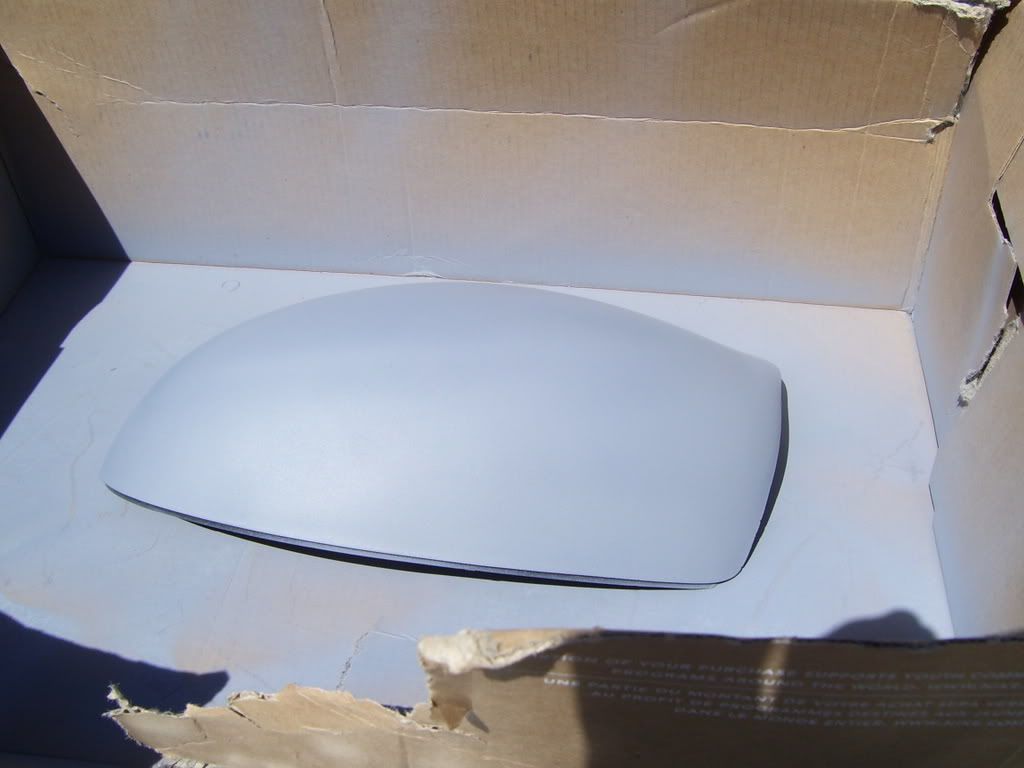
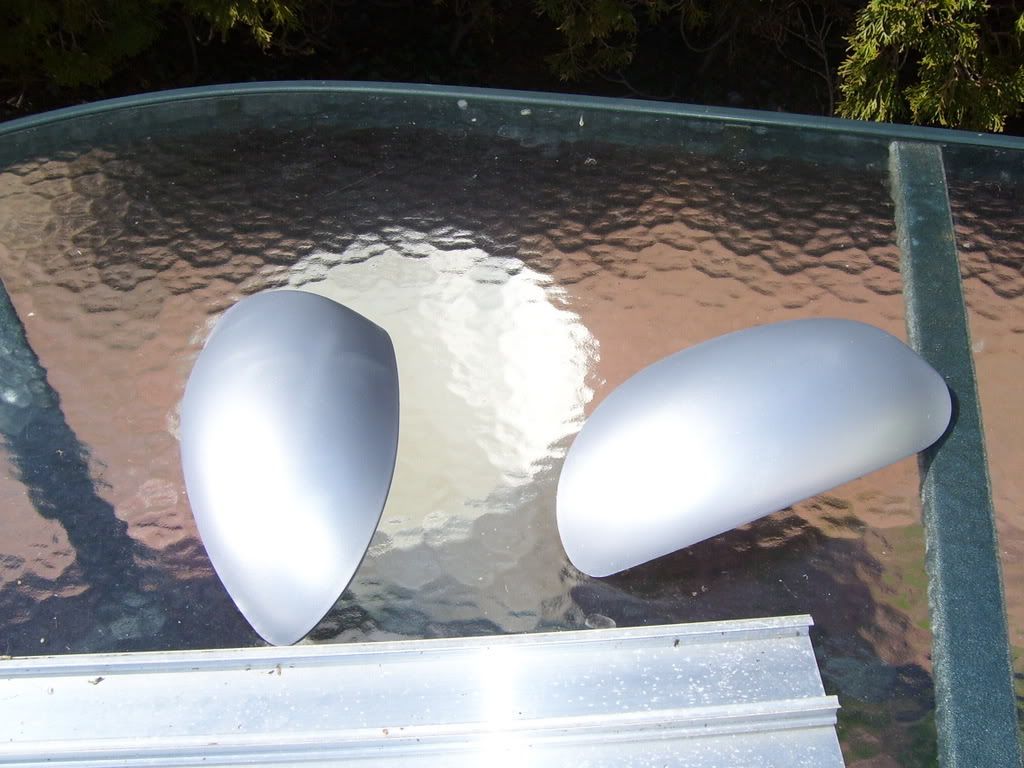
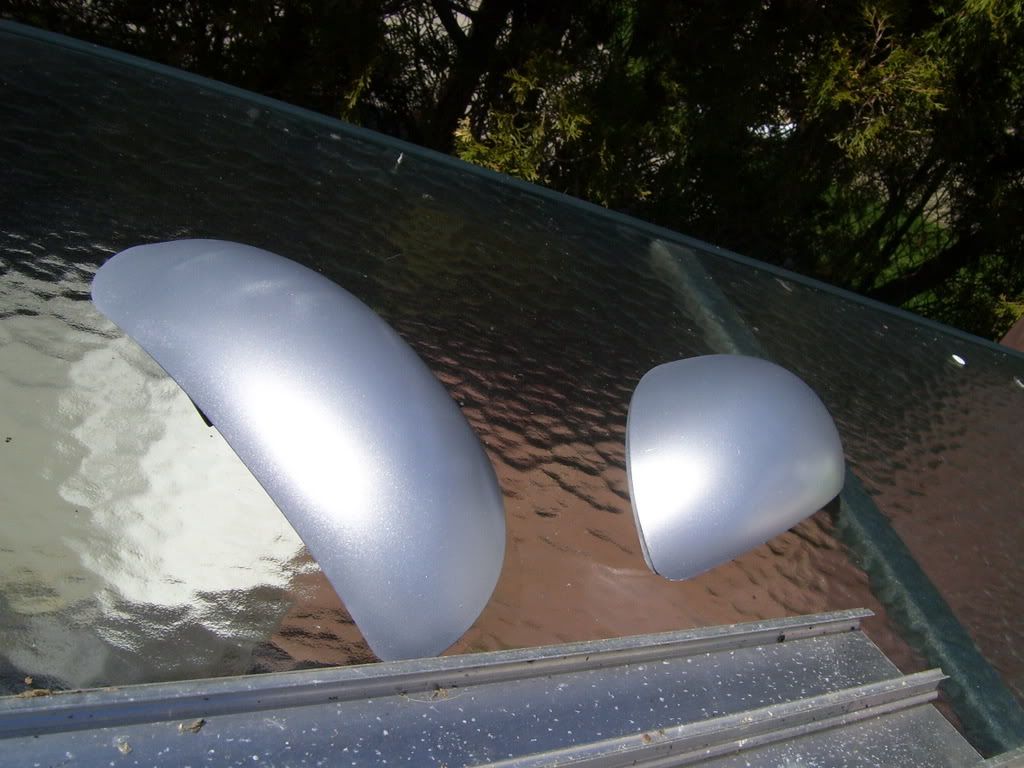
After removing the caps, go inside and wash off the caps thoroughly, removing any dirt, grime, or anything that will ruin the integrity of the paint/primer. After cleaning with soap and water, use rubbing alcohol to prep the surface for priming. Use the sandpaper to roughen up the surface of the plastic for the primer to get properly spread across.
![Image]()
Painting:
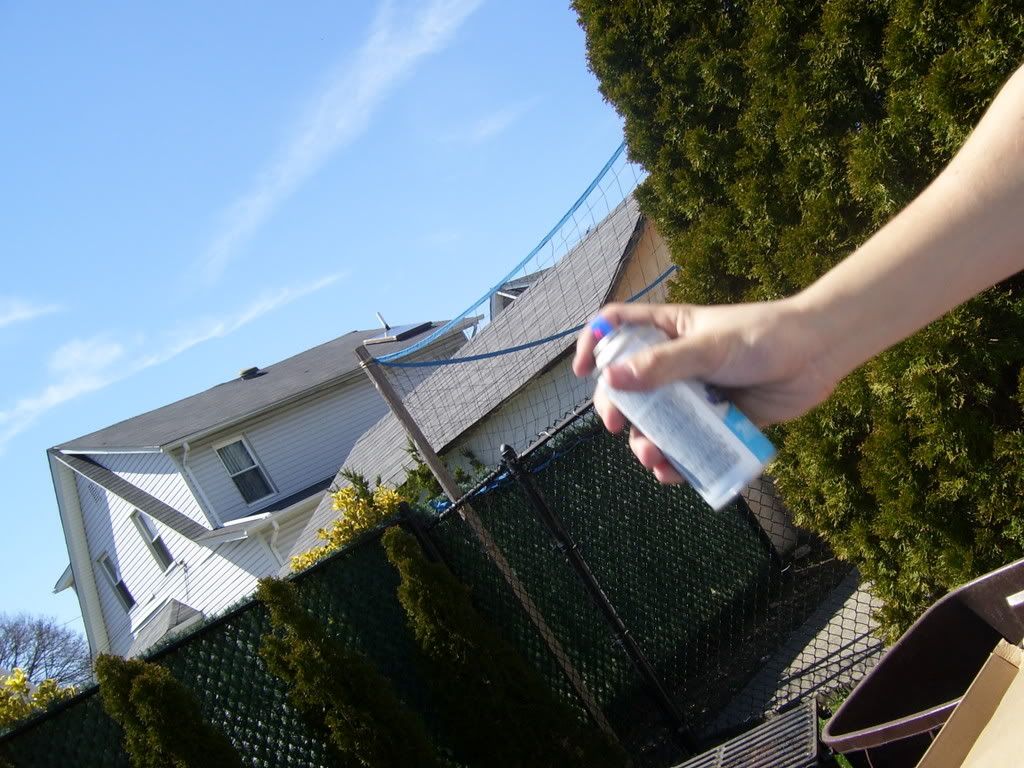
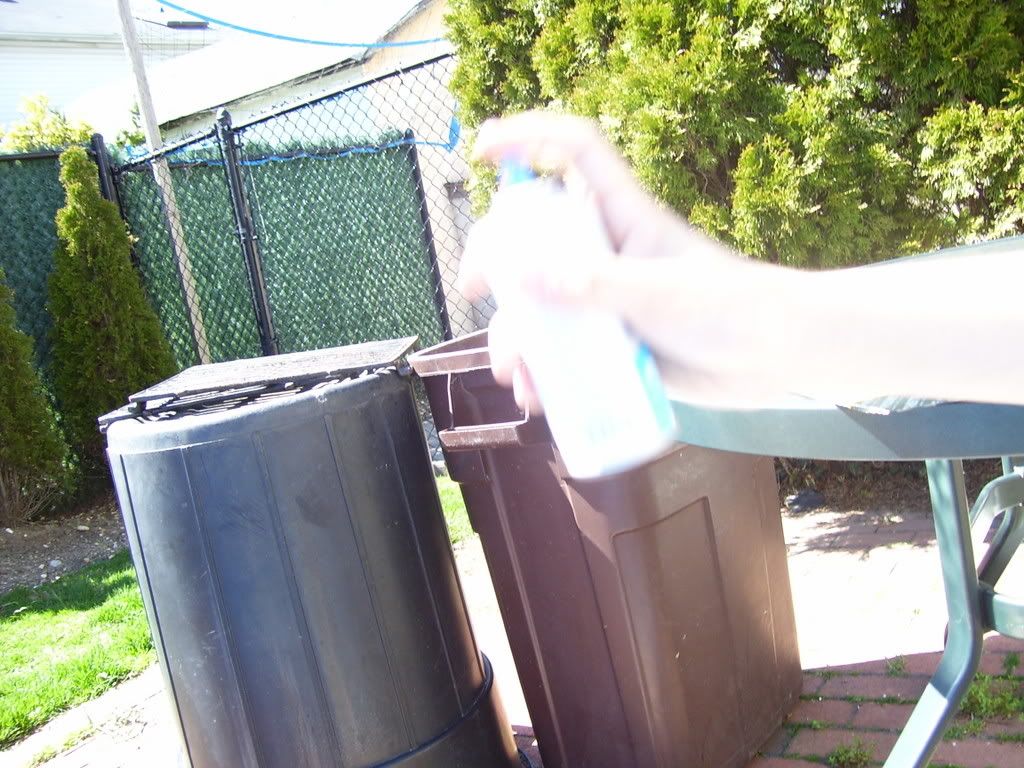
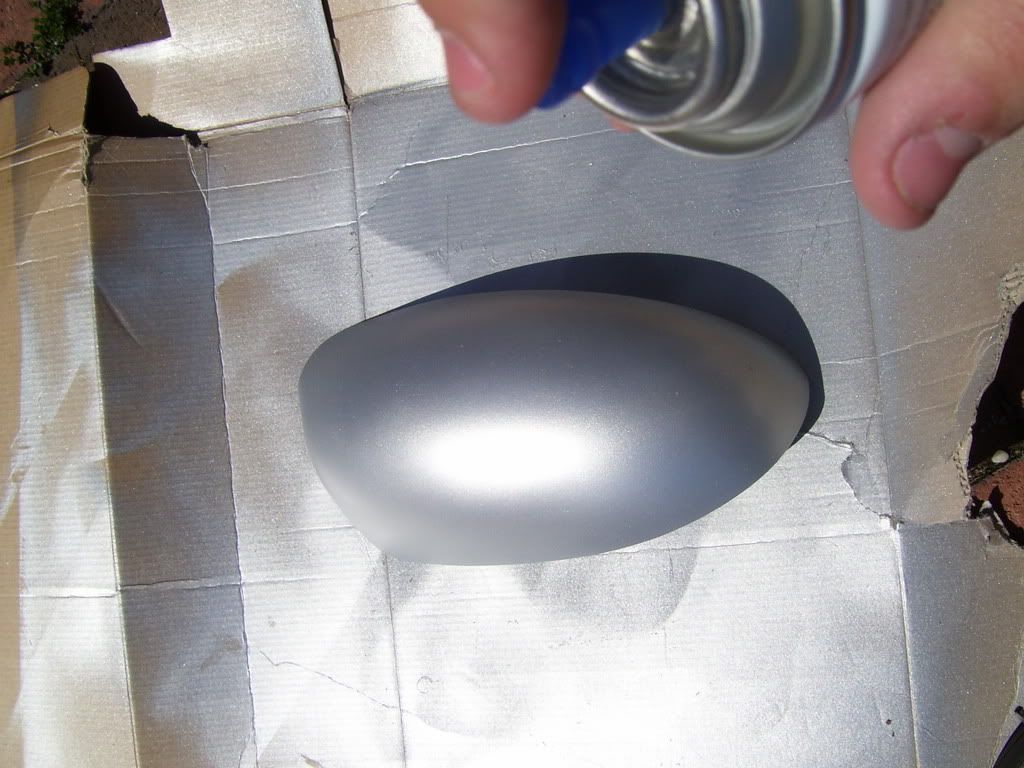
After roughening up the surface of both caps, they are ready to be coated with primer. Find a nice outside spot and lay some cardboard down. Shake the can of primer thoroughly for about 2 minutes.
![Image]()
Begin spraying one light coat of primer on each cap, and let dry for 10 minutes or so.
![Image]()
![Image]()
Repeat with a few more layers of primer and let dry for 20 minutes after the last coat. Make sure the surface of each cap is covered completely with primer.
![Image]()
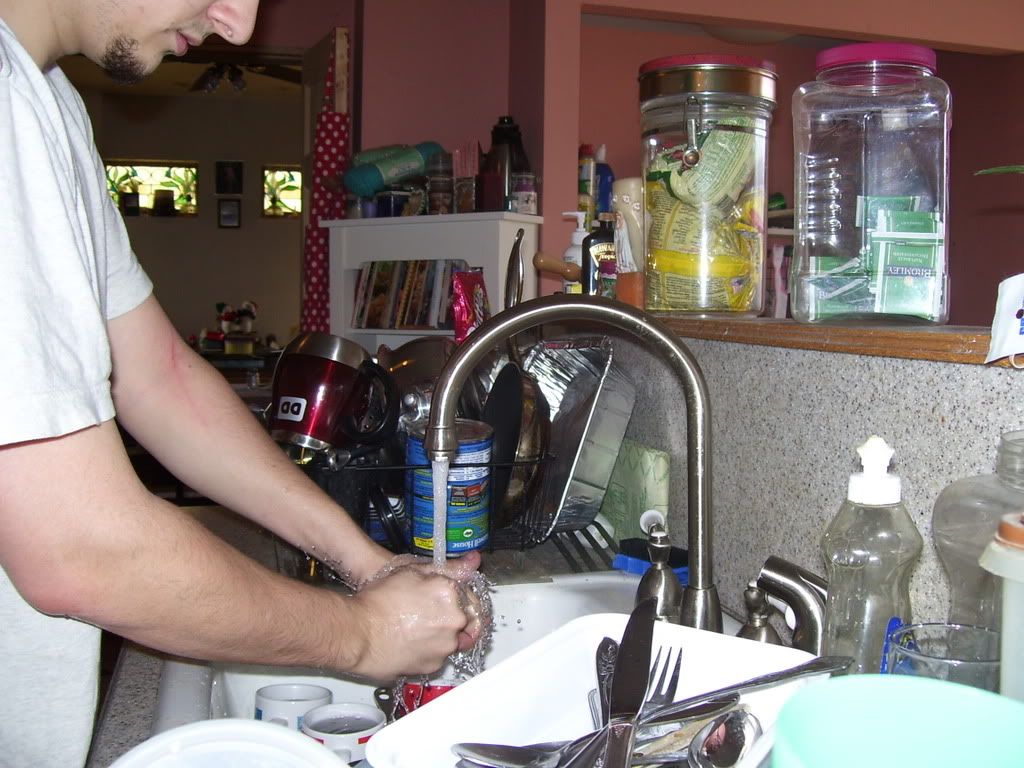
Go inside and wash your hands with soap and water. [") ]
]
![Image]()
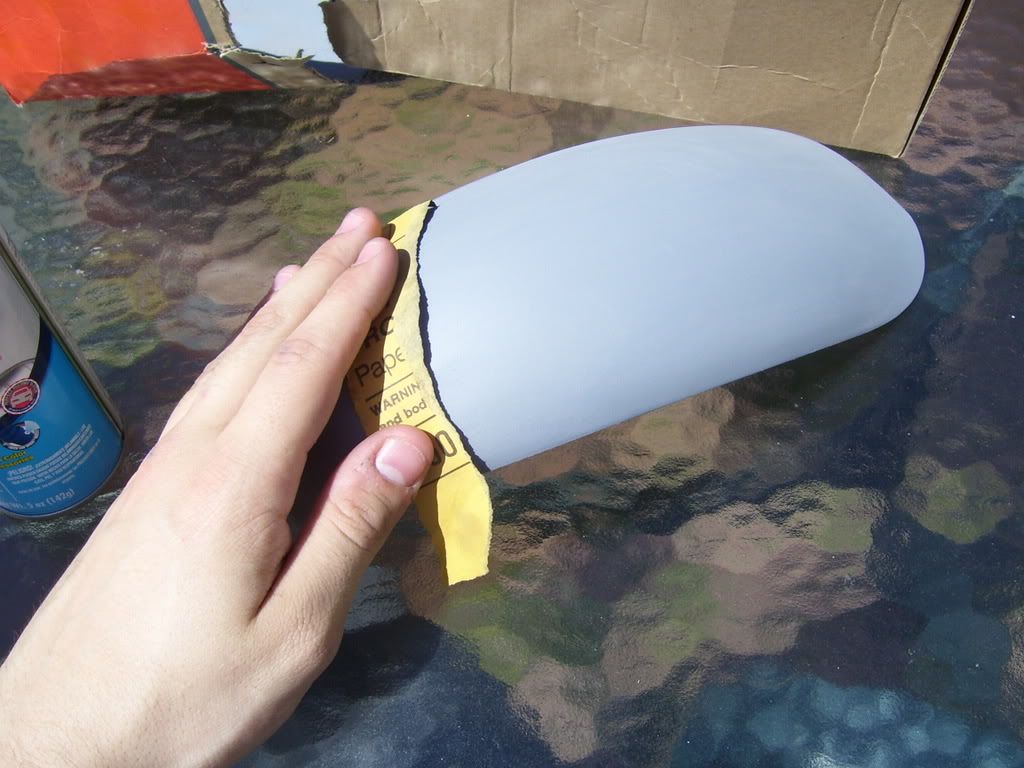
After drying the final coat of primer, run the primer sandpaper over each surface again, roughening the primer to allow proper adhesion of the paint.
![Image]()
Run a light coat of paint over each cap, and let dry for 10 to 15 minutes. Be sure not to make heavy coats, otherwise you will be fighting drips and runs.
![Image]()
Continue with very light coats of paint on each cap, making sure not to put the paint on heavily. The end result should look something like mine.
![Image]()
![Image]()
Allow the paint to dry completely for about 30 to 60 minutes. Once dried, shake the can of clear coat for 2 minutes to prepare it for spraying.
![Image]()
Spray one light coat of clear coat on the surface of each cap. Remember to keep it very light as this coat is the base for the next few clear coats.
![Image]()
Once the first coat is set, allow it to dry for 10 to 15 minutes. After this drying period, return and spray 2 to 3 more coats of clear coat, which do not have to be as light as the first one. I gradually made them thicker as I went to my 4th coat, allowing the caps to appear very shiny.
![Image]()
Allow the caps to dry overnight. This will allow proper setting of the many coats you just sprayed on.
![Image]()
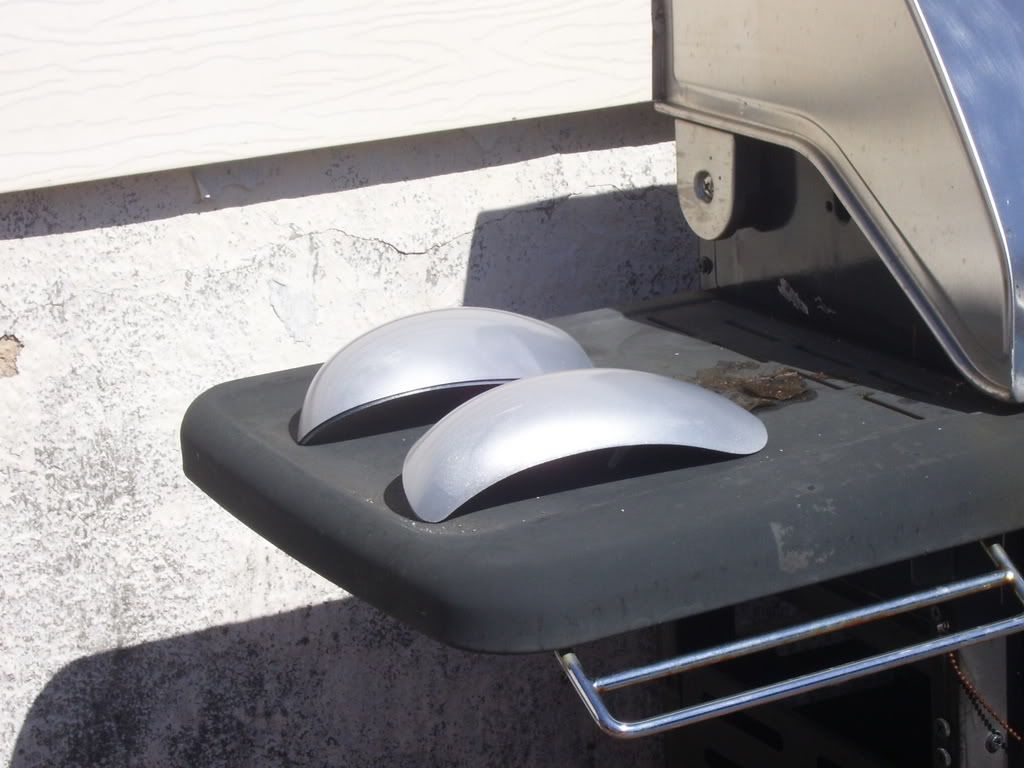
After the drying period, re-install the caps by simply pushing them back in place.
![Image]()
![Image]()
Working time needed: 2 hours.
Overall drying time needed: 24 hours.
Materials needed:
- Primer
- Paint
- Clear coat
- Rubbing alcohol
- Cardboard
- Sandpaper (I used primer sandpaper in this how-to)
Begin by removing the mirror caps gently. This process takes the longest time as you are working behind the mirror glass. Refer to the pictures to see where the tabs are.
After removing the caps, go inside and wash off the caps thoroughly, removing any dirt, grime, or anything that will ruin the integrity of the paint/primer. After cleaning with soap and water, use rubbing alcohol to prep the surface for priming. Use the sandpaper to roughen up the surface of the plastic for the primer to get properly spread across.
Painting:
After roughening up the surface of both caps, they are ready to be coated with primer. Find a nice outside spot and lay some cardboard down. Shake the can of primer thoroughly for about 2 minutes.
Begin spraying one light coat of primer on each cap, and let dry for 10 minutes or so.
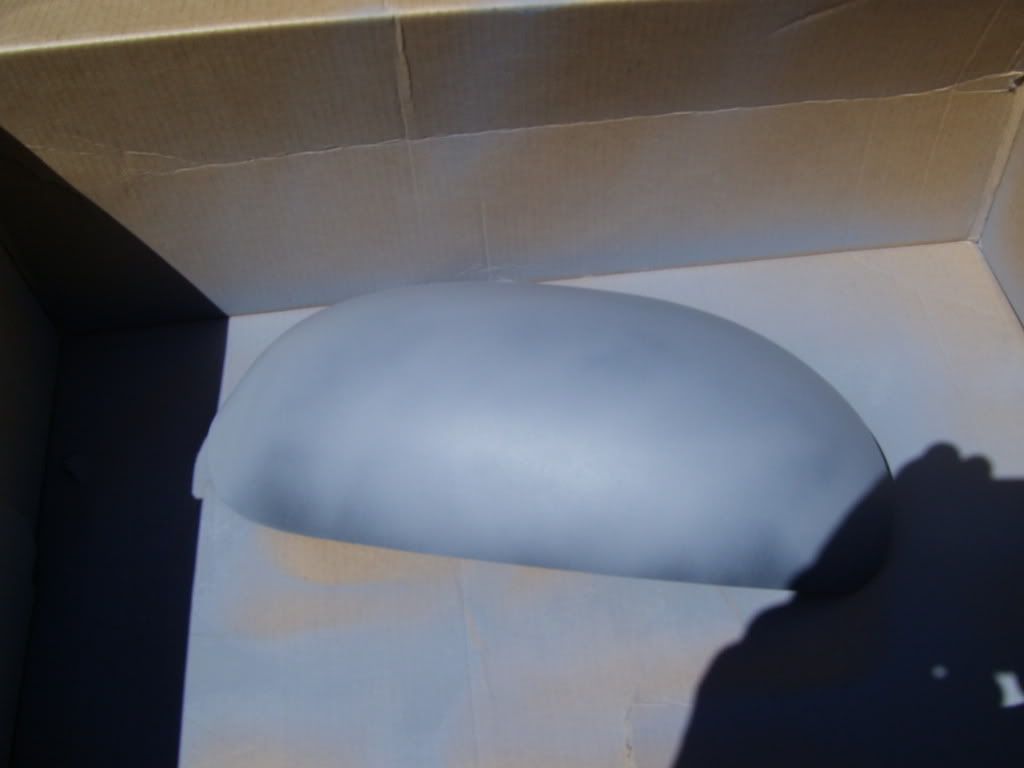
Repeat with a few more layers of primer and let dry for 20 minutes after the last coat. Make sure the surface of each cap is covered completely with primer.
Go inside and wash your hands with soap and water. [
]
After drying the final coat of primer, run the primer sandpaper over each surface again, roughening the primer to allow proper adhesion of the paint.
Run a light coat of paint over each cap, and let dry for 10 to 15 minutes. Be sure not to make heavy coats, otherwise you will be fighting drips and runs.
Continue with very light coats of paint on each cap, making sure not to put the paint on heavily. The end result should look something like mine.
Allow the paint to dry completely for about 30 to 60 minutes. Once dried, shake the can of clear coat for 2 minutes to prepare it for spraying.
Spray one light coat of clear coat on the surface of each cap. Remember to keep it very light as this coat is the base for the next few clear coats.
Once the first coat is set, allow it to dry for 10 to 15 minutes. After this drying period, return and spray 2 to 3 more coats of clear coat, which do not have to be as light as the first one. I gradually made them thicker as I went to my 4th coat, allowing the caps to appear very shiny.
Allow the caps to dry overnight. This will allow proper setting of the many coats you just sprayed on.
After the drying period, re-install the caps by simply pushing them back in place.