

I've seen several posts regarding broken vent selector cables, and I decided that when I did mine, I would document them, so that others would be able to try and do this on their own. On a scale 1-10, I would rate this about a 4.5, and installation took me about 1.5 hours, documenting, (and the one minor screw up).
First thing you need to do, is remove the radio, and the four bolts behind it (7MM I think).
![Image]()
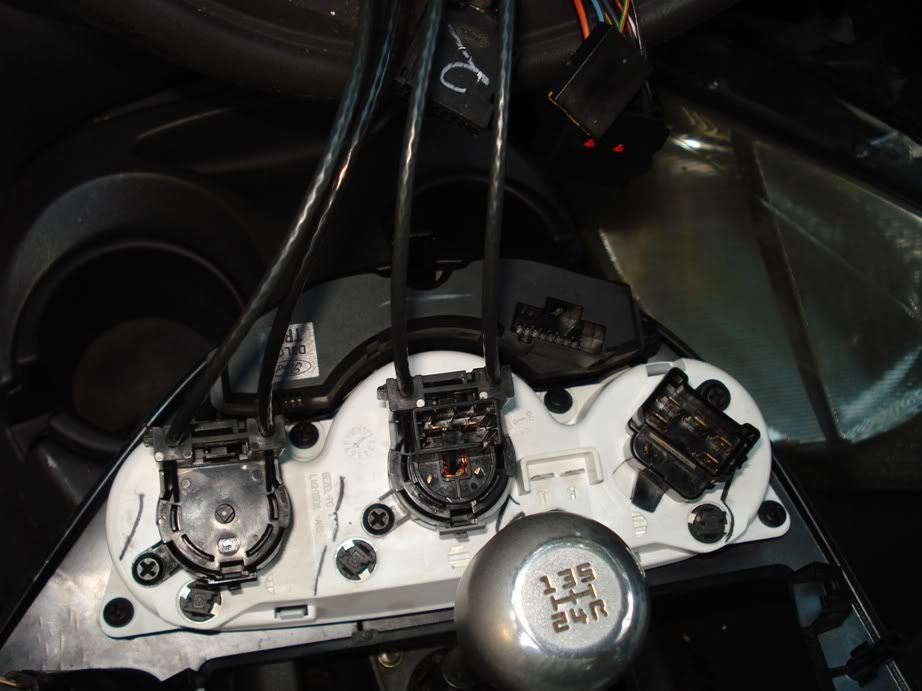
Pull the face plate forward, and start unhooking the electrical connections. You will need to disconnect the hazard switch first in order to really be able to get to the rest of the connections.
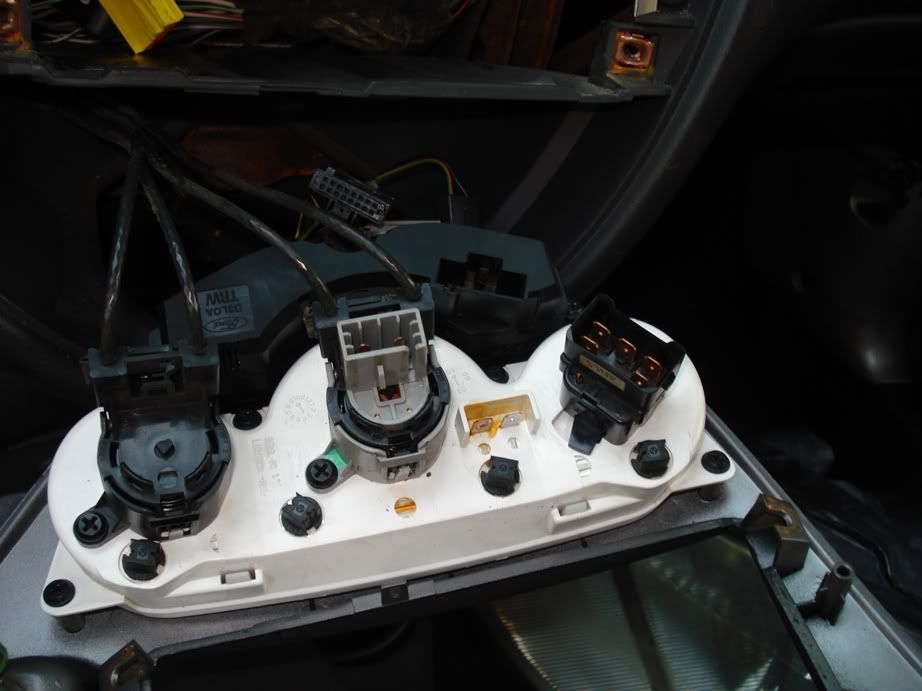
At this point, you can either unhook the selector knobs,so you just have them to deal with, or leave them connected to the trim panel. If you are replacing the whole thing with one from a junk yard like I did, I'd just leave them hooked up.
![Image]()
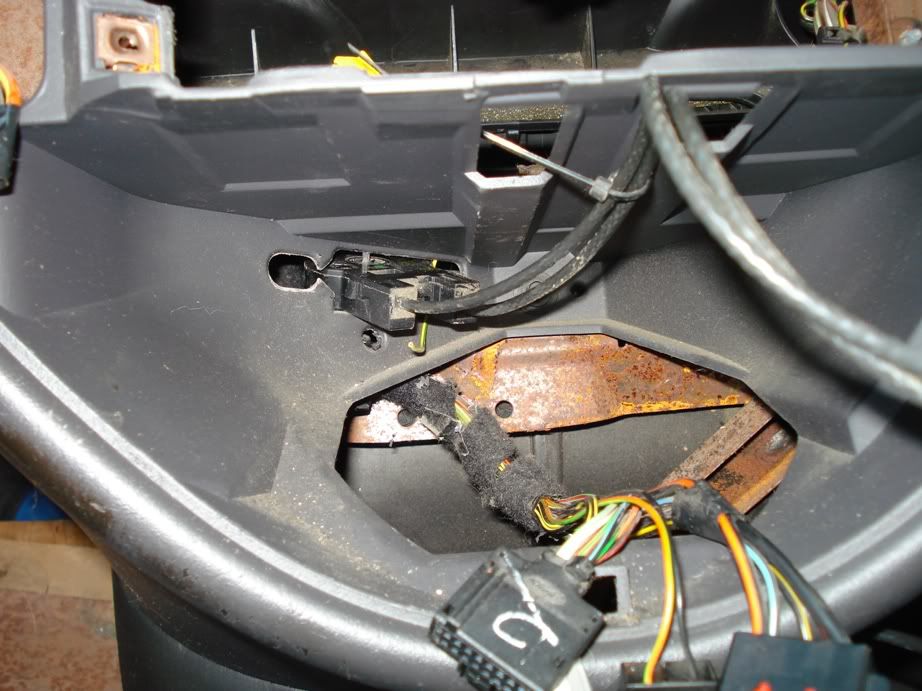
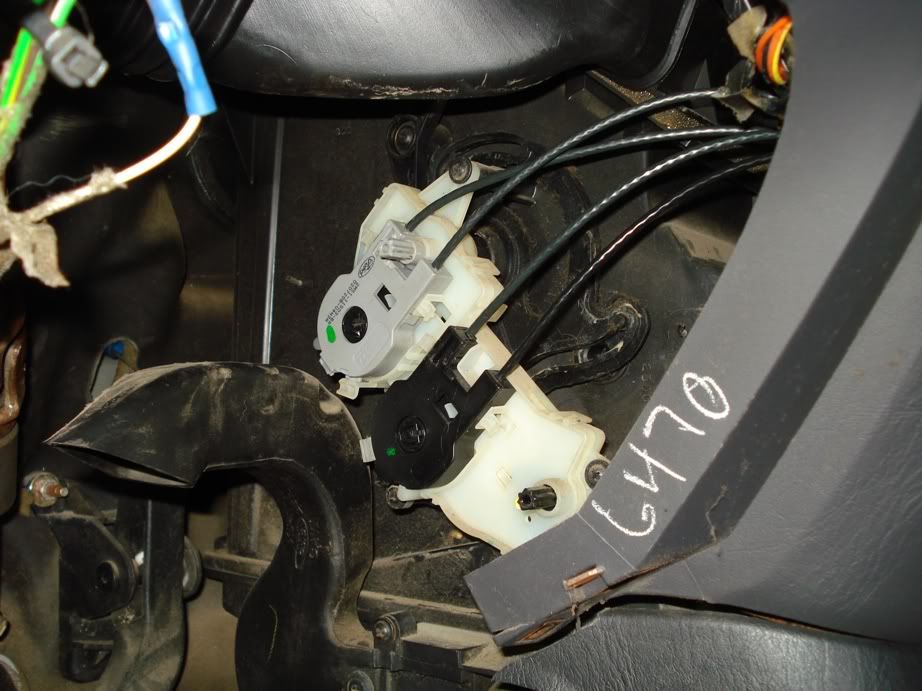
Remove the lower dash panel underneath the steering column (8MM I think), and let it hang. The other end of the cables are close to where your right knee would probably be. They look like this:
![Image]()
There are three mounting tabs that need to be released in order to remove the cables.
Here:
![Image]()
And here:
![Image]()
Once the tabs are released, the cables will just slide up and through the back of the dash area:
First one
![Image]()
Then the other
![Image]()
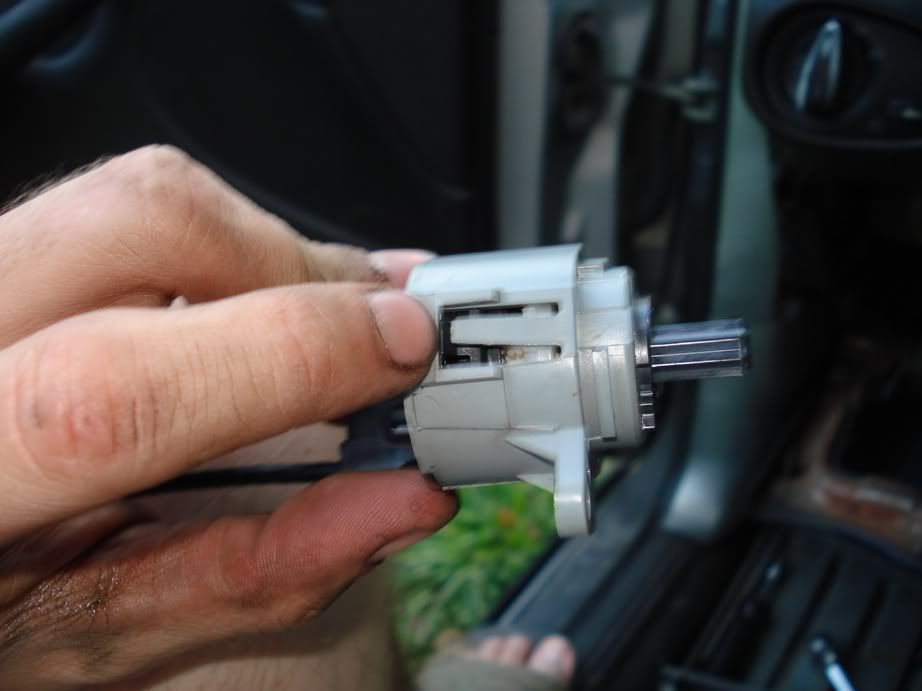
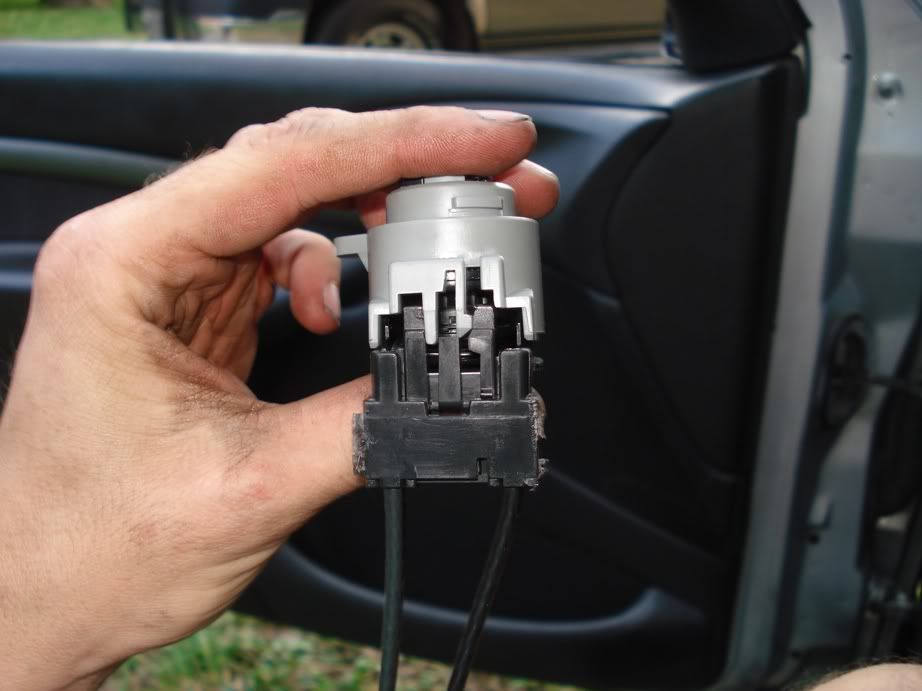
I pulled these apart, so if you just got the cable from Ford, this is how they work. There is a release tab at the top of the selector, and then the cable assembly will just pull away like a hinge.
Release tab
![Image]()
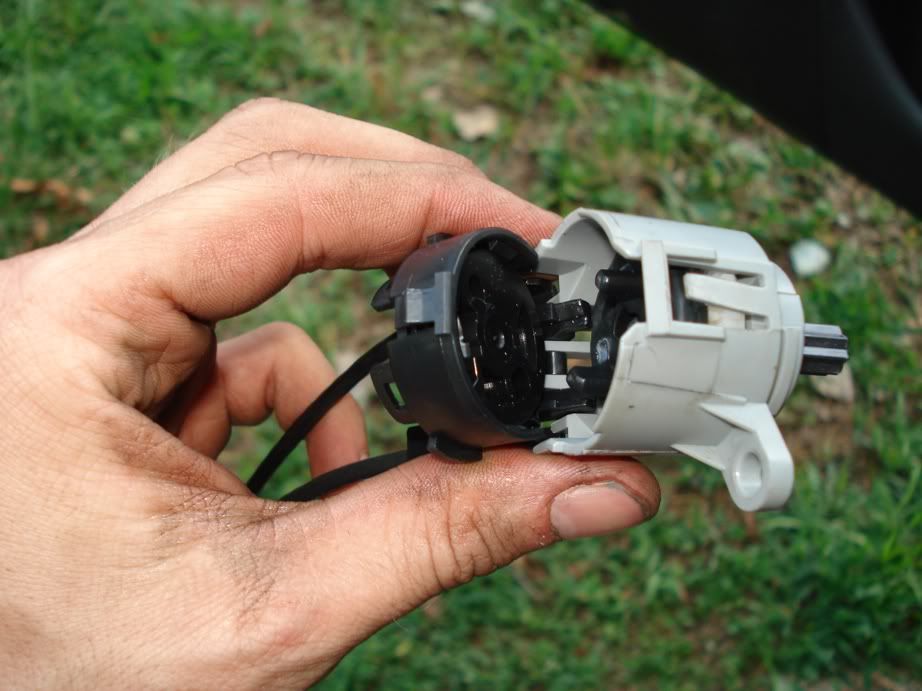
Pulling away
![Image]()
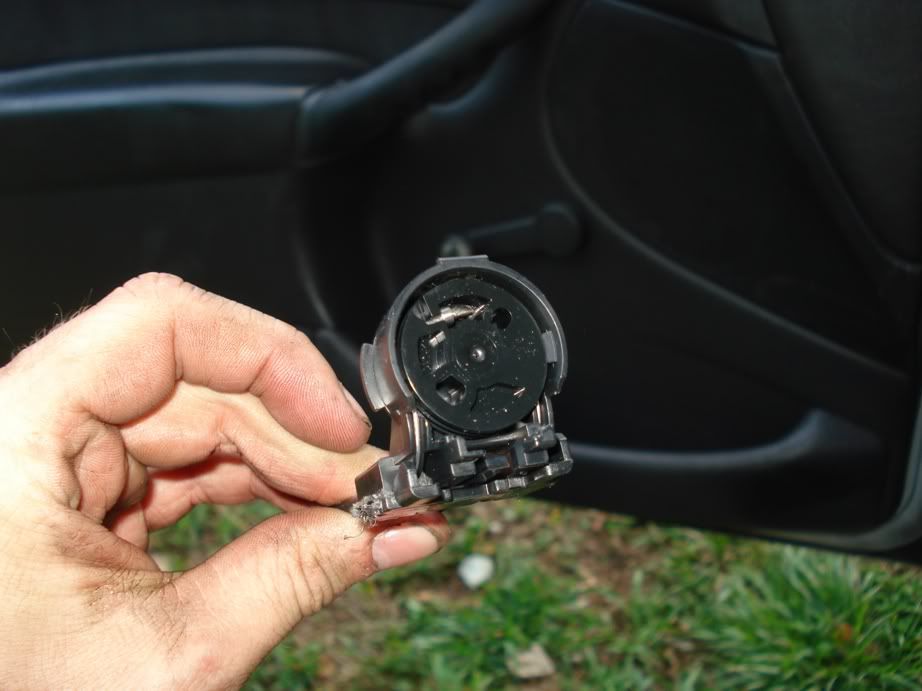
What the good cable looks like
![Image]()
The new ones just clip straight back onto the selector lever
Lined up
![Image]()
Back together
![Image]()
Reattach the cables to the trim panel. This is where I had a small issue. The cables will only attach back to their correct location under the dash, and the selector knobs will only go onto one spot on the control panel. However, if you take the cables off, they will go onto the back of either selector knob. This resulted in my temp knob controlling the vent output, and vice versa. So I would recommend swapping one cable at a time if you need to. If getting them from a junk yard, just don't undo them from the back of the selector knob.
New cables into the trim panel
![Image]()
New cables under the dash
![Image]()
At this point, all that is left is to make you electrical connections back, put the trim back in, and reattach the lower dash panel.
First thing you need to do, is remove the radio, and the four bolts behind it (7MM I think).
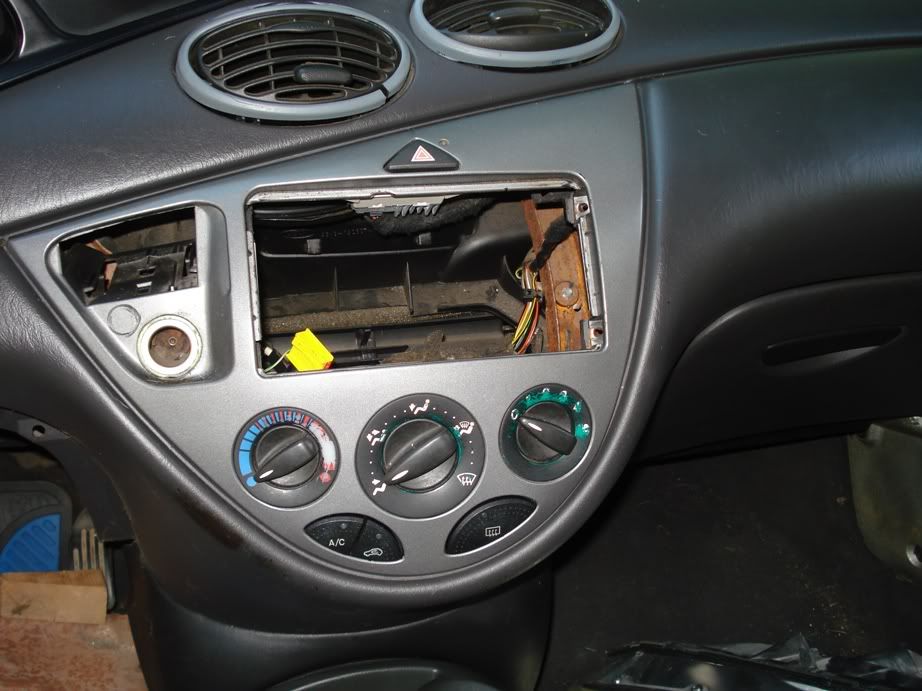
Pull the face plate forward, and start unhooking the electrical connections. You will need to disconnect the hazard switch first in order to really be able to get to the rest of the connections.
At this point, you can either unhook the selector knobs,so you just have them to deal with, or leave them connected to the trim panel. If you are replacing the whole thing with one from a junk yard like I did, I'd just leave them hooked up.
Remove the lower dash panel underneath the steering column (8MM I think), and let it hang. The other end of the cables are close to where your right knee would probably be. They look like this:
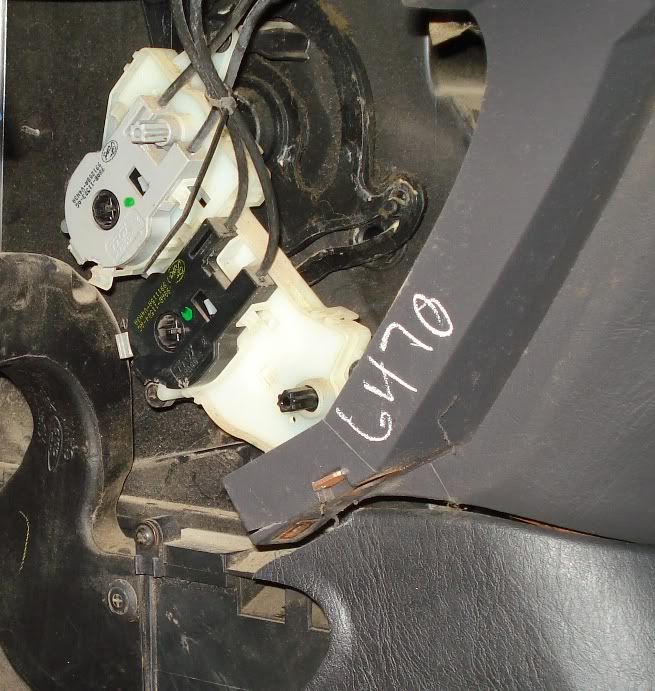
There are three mounting tabs that need to be released in order to remove the cables.
Here:
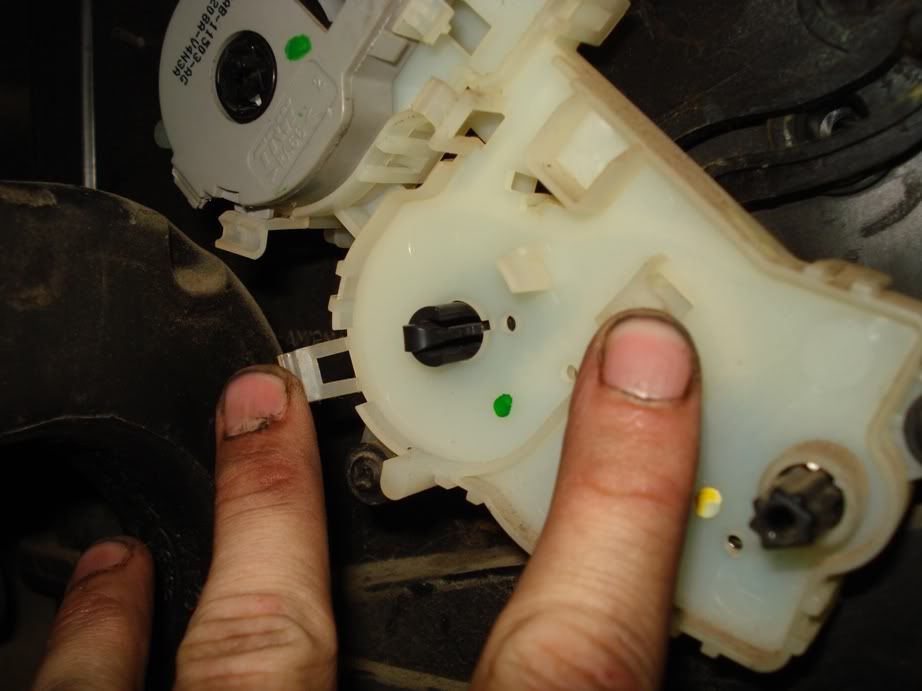
And here:

Once the tabs are released, the cables will just slide up and through the back of the dash area:
First one

Then the other
I pulled these apart, so if you just got the cable from Ford, this is how they work. There is a release tab at the top of the selector, and then the cable assembly will just pull away like a hinge.
Release tab
Pulling away
What the good cable looks like
The new ones just clip straight back onto the selector lever
Lined up
Back together

Reattach the cables to the trim panel. This is where I had a small issue. The cables will only attach back to their correct location under the dash, and the selector knobs will only go onto one spot on the control panel. However, if you take the cables off, they will go onto the back of either selector knob. This resulted in my temp knob controlling the vent output, and vice versa. So I would recommend swapping one cable at a time if you need to. If getting them from a junk yard, just don't undo them from the back of the selector knob.
New cables into the trim panel
New cables under the dash
At this point, all that is left is to make you electrical connections back, put the trim back in, and reattach the lower dash panel.


